Yemista (Gemistá)
Hey everyone, hope you're having an incredible day today. Today, I'm gonna show you how to prepare a special dish, Yemista (Gemistá). One of my favorites. For mine, I'm gonna make it a little bit tasty. This will be really delicious.
Yemista (Gemistá) is one of the most favored of current trending meals on earth. It is simple, it is quick, it tastes delicious. It is enjoyed by millions daily. Yemista (Gemistá) is something that I have loved my whole life. They're nice and they look fantastic.
Many things affect the quality of taste from Yemista (Gemistá), starting from the type of ingredients, then the selection of fresh ingredients, the ability to cut dishes to how to make and serve them. Don't worry if you want to prepare Yemista (Gemistá) delicious at home, because if you already know the trick then this dish can be used as an extraordinary special treat.
As for the number of servings that can be served to make Yemista (Gemistá) is 2 raciones. So make sure this portion is enough to serve for yourself and your beloved family.
Just in addition, the time it takes to cook Yemista (Gemistá) estimated approx 1 h. 30 m..
To begin with this recipe, we have to prepare a few components. You can cook Yemista (Gemistá) using 13 ingredients and 19 steps. Here is how you cook it.
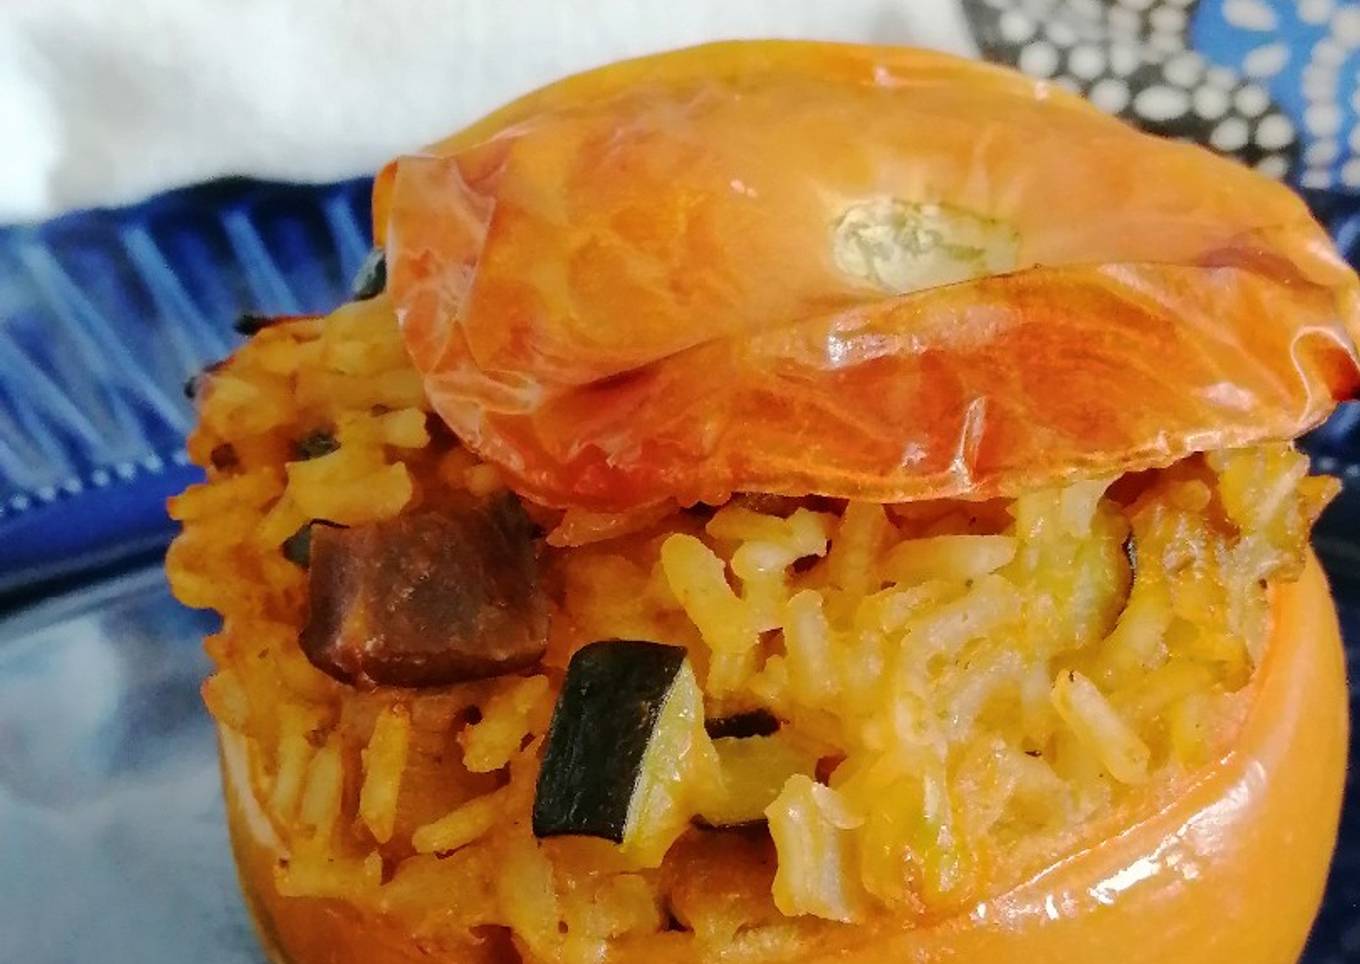
#WorldTour La gastronomía griega es una mezcla de cocina mediterránea con rastros de Italia, Oriente Medio y toques de los Balcanes.
El Yemista o Gemistá son tomates (aunque a veces usan pimientos) rellenos y al horno.
Sólo te digo que debes probarlos
Ingredients and spices that need to be Make ready to make Yemista (Gemistá):
- 2 tomates de ensalada grandes
- 1/2 cebolla blanca grande
- 1/4 de berenjena grande
- 1/2 calabacin mediano
- 1 diente ajo
- 1/2 limón en zumo
- 70 gramos arroz largo
- 4-5 hojas hierbabuena fresca
- 6-8 hojas perejil fresco
- 1/4 de cucharadita de pimentón dulce
- Pimienta negra
- Sal
- Aceite de oliva virgen extra
Instructions to make to make Yemista (Gemistá)
- Lavar, secar y quitar la tapa a los tomates


- Vaciar con cuidado de no romper la piel. Reservar pulpa, tapas y tomates vacíos

- Picar cebolla, calabacin y berenjena


- En una sartén con un poco de aceite de oliva virgen extra pochar cebolla, calabacin y berenjena a fuego suave

- Mientras exprimir el limón, laminar el ajo y picar la hierbabuena y el perejil. Reservar


- En una sartén con un poco de aceite de oliva virgen extra y a fuego suave dorar los ajos


- Añadir la pulpa de tomate, la hierbabuena, el perejil, sal y pimienta negra recién molida. Dejar hacer a fuego suave


- Pasar al vaso de la batidora, batir bien y reservar caliente


- Cuando las verduras estén blandas añadir el arroz. Rehogar a fuego suave unos 5 minutos


- Añadir la pulpa de tomate, mezclar bien y dejar 3-4 minutos


- Añadir el zumo de limón, el pimentón dulce y doble volumen de agua que de arroz


- Dejar hacer hasta que el líquido se haya absorbido y el arroz esté meloso


- Mientras, precalentar el horno a 210º calor arriba y abajo
- Una vez hecho el arroz, rellenar los tomates con la mezcla de la sartén

- Poner en una fuente apta para el horno, cubierta con papel vegetal, y poner las tapas de los tomates

- Meter al horno unos 35 minutos
- Sacar, dejar templar

- Emplatar y servir


- Buen provecho!!!!


As your experience and also self-confidence grows, you will certainly locate that you have much more natural control over your diet plan and adapt your diet regimen to your personal tastes in time. Whether you want to serve a recipe that uses fewer or even more ingredients or is a little bit essentially hot, you can make basic modifications to achieve this goal. In other words, begin making your dishes in a timely manner. As for fundamental food preparation skills for newbies you don't require to discover them yet just if you master some basic food preparation methods.
This isn't a complete guide to quick and easy lunch recipes but its great food for thought. With any luck this will get your creative juices streaming so you can prepare scrumptious dishes for your family members without doing a lot of heavy meals on your trip.
So that is going to wrap it up for this exceptional food Recipe of Homemade Yemista (Gemistá). Thanks so much for reading. I'm sure that you can make this at home. There's gonna be interesting food at home recipes coming up. Don't forget to save this page on your browser, and share it to your loved ones, friends and colleague. Thank you for reading. Go on get cooking!


Comments
Post a Comment